Functional Testing with TestCafe
Today we are going to dive into the world of functional web testing with TestCafe.
Unlike the majority of other end-to-end (e2e) testing tools, TestCafe is not dependent on Selenium or WebDriver. Instead, it injects scripts into the browser to communicate directly with the DOM and handle events. It works on any modern browser that supports HTML5 without any plugins. Further, it supports all major operating systems and can run simultaneously on multiple browsers and machines.

We will be using:
Please review the Getting Started guide before beginning.
Contents
Contents
- Objectives
- Project Setup
- Writing Tests
- Browser Support
- Continuous Integration
- Next Steps
Objectives
By the end of this tutorial, you should be able to…
- Set up TestCafe with an existing Node app
- Write TestCafe tests using the PageObject pattern
- Test a Node application with functional tests
- Integrate TestCafe into a continuous integration process
- Configure TestCafe to work with a headless browser
Project Setup
Start by cloning the base project structure:
$ git clone https://github.com/mjhea0/testcafe-example --branch v1 --single-branch -b master
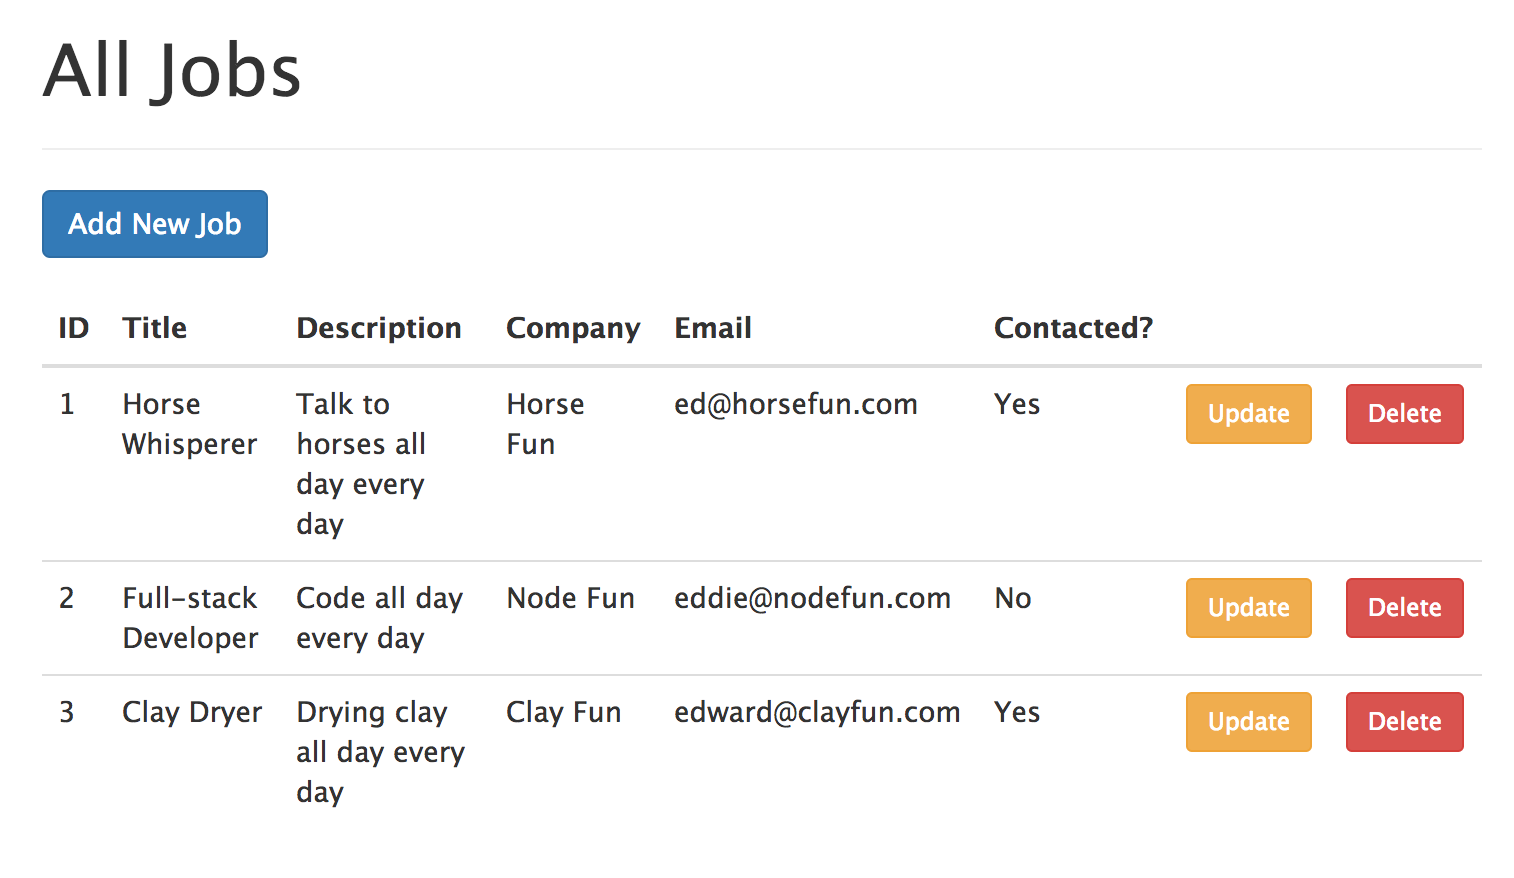
Install the dependencies, and then fire up the app by running npm start to make sure all is well. Navigate to http://localhost:3000/ in your browser and you should see a list of jobs in HTML. Experiment with the app. Add a job. Update a job. Delete a job. This is what we will be testing. Kill the server when done.
Install TestCafe:
$ npm install testcafe@0.13.0 --save-dev
With that, you can start running tests.
NOTE: If you were using a Selenium-based testing tool you would need to install both Selenium and Web Driver, which can be difficult depending on your system setup.
Add a test command to the scripts in package.json:
"scripts": {
  "start": "node ./bin/www",
  "test": "node_modules/testcafe/bin/testcafe.js chrome tests/"
},
Here, we specified the path to TestCafe in our “node_modules” folder along with a target browser, chrome, and a path to where all tests will be located, tests/.
Now, you can use npm test to run TestCafe.
Let’s get a test set up. Add a “tests” folder to the project root, and add an index.js file to it:
import { Selector } from 'testcafe';

fixture('Getting Started')
  .page('https://github.com');

test('Find "testcafe-example" repo on GitHub', async (t) => {
  const repo = Selector('.repo-list > li > div');
  // search github
  await t
    .typeText('form[action="/search"]', 'testcafe-example user:mjhea0')
    .pressKey('enter');
  // check li for results
  await t
    .expect(repo.innerText).contains('mjhea0/testcafe-example');
});
What’s happening?
- Since all tests are organized into fixtures, we started with a
fixture()function. - Next, we specified a start URL -
http://devexpress.github.io/testcafe/example- via thepage()method. - From there, we added the test code into a
test()function, which takes an async function along with the test controller object. awaitis then used to wait for certain actions to complete. In this case, we usedtypeText()andpressKey()to search GitHub.- On the GitHub search results page, we used a
Selector()function to parse the DOM. - Finally, we asserted that the actual results contain the expected results.
NOTE: If you’re new to async/await, check out Understanding JavaScript’s async await.
Try this out! Run npm test. If all goes well Chrome should fire up and execute the test. Once done, you should see something like this in your terminal:
Running tests in:
- Chrome 57.0.2987 / Mac OS X 10.11.6

Getting Started
✓ Find "testcafe-example" repo on GitHub
Make sense? No? Continue to run the test and review the above steps until it does. Make sure you understand what’s happening before moving on.
Writing Tests
Add a new file called jobs.js to the “tests” folder:
import { Selector } from 'testcafe';

fixture('Node Jobs')
  .page('http://localhost:3000');

test('All Jobs', async (t) => {

});
Then update the test command in package.json:
"test": "node_modules/testcafe/bin/testcafe.js chrome tests/jobs.js --app 'npm start'"
tests/jobs.js ignores the example GitHub test found in index.js so that we can focus just on the tests added to jobs.js. The --app option is used to launch the Node app so that TestCafe can interact with it.
Try it. You should see the page load in Chrome. With that, let’s test each of our app’s CRUD functions.
GET ALL Jobs
Update jobs.js:
import { Selector } from 'testcafe';

fixture('Node Jobs')
  .page('http://localhost:3000');

test('All Jobs', async (t) => {
  const title = Selector('h1');
  const tableRows = Selector('tbody > tr');
  const addJobButton = Selector('a.btn.btn-primary');
  const firstJob = Selector('tbody > tr').withText('Horse Whisperer');
  // check title, add job button, table rows, and job exists
  await t
    .expect(title.innerText).eql('All Jobs')
    .expect(addJobButton.innerText).eql('Add New Job')
    .expect(tableRows.count).eql(3)
    .expect(firstJob.exists).ok();
});
What’s happening? Review the code above, line by line. It should be fairly straightforward. Turn to the docs for help, adding comments as necessary.
Run:
Node Jobs
✓ All Jobs


1 passed (0s)
Before moving on, refactor out the selectors so that they can be re-used by other test cases:
import { Selector } from 'testcafe';

// selectors
const title = Selector('h1');
const tableRows = Selector('tbody > tr');
const addJobButton = Selector('a.btn.btn-primary');
const firstJob = Selector('tbody > tr').withText('Horse Whisperer');

fixture('Node Jobs')
  .page('http://localhost:3000');

test('All Jobs', async (t) => {
  // check title, add job button, table rows, and job exists
  await t
    .expect(title.innerText).eql('All Jobs')
    .expect(addJobButton.innerText).eql('Add New Job')
    .expect(tableRows.count).eql(3)
    .expect(firstJob.exists).ok();
});
Add Job
Start by adding a new test() function to jobs.js:
test.only('New Job', async (t) => {

});
NOTE: Can you guess what
only()does? Try running the tests to see. Please review the docs for more info.
Think about the steps an end user has to go through to add a job:
- Click the add job button
- Fill out the form
- Submit the form
Now, try this on your own, step by step, before looking at the solution…
test.only('New Job', async (t) => {
  // click add job button
  await t
    .click(addJobButton)
    .expect(title.innerText).eql('Add Job');
  // fill out form
  await t
    .typeText('input[name="title"]', 'Python Developer')
    .typeText('textarea[name="description"]', 'Write some Python')
    .typeText('input[name="company"]', 'Real Python')
    .typeText('input[name="email"]', 'michael@realpython.com')
    .click(submitButton)
  // check title, table rows, and new job exists
  await t
    .expect(title.innerText).eql('All Jobs')
    .expect(tableRows.count).eql(4)
    .expect(Selector('tbody > tr').withText('Python Developer').exists).ok();
});
Make sure to add the selector to the top:
const submitButton = Selector('button[type="submit"]');
Test it out. Then remove the only() and test again:
Node Jobs
✓ All Jobs
✓ New Job


2 passed (4s)
What are we missing in this test?
- What happens if the cancel button is pressed?
- What if the end user does not enter data for all the fields?
- What if text is entered in the email field but it is not a valid email?
Try testing for these on your own.
Update Job
Again, start by adding the boilerplate:
test('Update Job', async (t) => {

});
Then write out the steps the end user has to take before writing any code:
- Click the update button
- Fill out the form
- Submit the form
test('Update Job', async (t) => {
  // click update button
  await t
    .click(firstJob.find('a.btn.btn-warning'))
    .expect(title.innerText).eql('Update Job');
  // fill out form
  await t
    .typeText('input[name="title"]', 'testing an update', {replace: true})
    .typeText('textarea[name="description"]', 'test', {replace: true})
    .typeText('input[name="company"]', 'test', {replace: true})
    .typeText('input[name="email"]', 't@t.com', {replace: true})
    .click(submitButton)
  // check title, table rows, and updated job exists
  await t
    .expect(title.innerText).eql('All Jobs')
    .expect(tableRows.count).eql(4) // why 4?
    .expect(firstJob.exists).notOk()
    .expect(Selector('tbody > tr').withText('testing an update').exists).ok();
});
Test:
Node Jobs
✓ All Jobs
✓ New Job
✓ Update Job


3 passed (8s)
What else should you test for? Write the test cases on your own.
Also, did you notice the code smell? There’s a lot of code duplication happening between those last two test cases. How could this be better handled?
Finally, did you notice that there are still four jobs in the table? Why? Could there be issues with testing the previous two tests together rather than in isolation? Probably not in this case, but if there are, you could always wrap the update in a new fixture(), since this restores the page to its initial state.
Delete Job
Run the app again with npm start to review, from the end user’s perspective, what happens when you try to delete a job.
test('Delete Job', async (t) => {
  // click delete button
  await t
    .setNativeDialogHandler(() => true)
    .click(clayDryerJob.find('a.btn.btn-danger'))
  // check title, table rows, and updated job exists
  await t
    .expect(title.innerText).eql('All Jobs')
    .expect(tableRows.count).eql(3) // why 3?
    .expect(clayDryerJob.exists).notOk();
});
Did you notice the setNativeDialogHandler() function? This tells TestCafe how to handle the alert.
What if we click “cancel” instead of “ok”?
test('Delete Job', async (t) => {
  // click delete button
  await t
    .setNativeDialogHandler(() => true) // => press ok
    .click(clayDryerJob.find('a.btn.btn-danger'))
  // check title, table rows, and updated job exists
  await t
    .expect(title.innerText).eql('All Jobs')
    .expect(tableRows.count).eql(3) // why 3?
    .expect(clayDryerJob.exists).notOk();
    // click delete button
  await t
    .setNativeDialogHandler(() => false) // => press cancel
    .click(tableRows.find('a.btn.btn-danger'))
  // check title, table rows, and updated job exists
  await t
    .expect(title.innerText).eql('All Jobs')
    .expect(tableRows.count).eql(3) // why 3?
});
Run the tests:
Node Jobs
✓ All Jobs
✓ New Job
✓ Update Job
✓ Delete Job


4 passed (9s)
Again, handle any edge cases on you own and clean up the code smell.
Browser Support
Aside for Chrome, TestCafe supports a number of browsers out-of-the-box. Further, if you don’t need to test browser-dependent functionality, then you can use a headless browser.
Start by installing the plugin, which is powered by Nightmare:
$ npm install testcafe-browser-provider-nightmare@0.0.4 --save-dev
Update the test command in package.json:
"test": "node_modules/testcafe/bin/testcafe.js nightmare tests/jobs.js --app 'npm start'"
Run the tests, and you should see:
Running tests in:
- Electron 1.6.2 / Mac OS X 10.11.6

Node Jobs
✓ All Jobs
✓ New Job
✓ Update Job
✓ Delete Job


4 passed (9s)
There’s also a plugin for cross browser support powered by SauceLabs.
Continuous Integration
Finally, let’s incorporate TestCafe into our Continuous Integration (CI) process with Travis CI.
NOTE: New to Travis? Review the Travis CI for Complete Beginners guide along with Running Tests in Firefox and Chrome Using Travis CI.
After you enable Travis CI for the repository you are working with, add a .travis.yml file to the project root:
language: node_js
node_js: "7"

dist: trusty
sudo: required

addons:
  apt:
    sources:
     - google-chrome
    packages:
     - google-chrome-stable

before_script:
  - "export DISPLAY=:99.0"
  - "sh -e /etc/init.d/xvfb start"
  - sleep 3
Here, we added the Node version along with some basic Chrome settings. Also, we have to use xvfb to fake a GUI so that Chrome thinks it’s running in a graphical environment.
That’s it. Grab the final code from the testcafe-example repo. Comment below if you have questions.