Handling AJAX Calls With Node.js and Express (part 5)
Articles in the series:
- Part 1: Scraping Craigslist
- Part 2: Adding Handlebars
- Part 3: User Authentication with Passport and MongoDB
- Part 4: Refactoring, Adding styles
- Part 5: Saving Jobs « CURRENT
Last time we refactored our code to make it more modular as well as added some styles. This time we’ll add our next feature: The ability to save jobs so that users can apply to them later.
Contents
- User Workflow
- Add a save button
- Client Side Javascript
- Server Side Javascript
- Update Mongo
- Client Side Javascript Redux
User Workflow
From an end user’s perspective, after logging in and then searching for jobs, one can simply click a button next to each job to save the job to a new Mongo collection. That job is then removed from the list of jobs retrieved from the search. Let’s start with that.
What do we need to do?
- Add a “save” button next to each job.
- Develop the necessary code to “grab” the job when the button is clicked, sending it to the server side.
- Create a new collection in the database.
- Insert the data in the newly created Mongo collection.
- Use jQuery to remove the job from the DOM and alert the user that job has been added.
Let’s get started.
Add a save button
Start by adding the “save” button to the Handlebars template:
<script id="search-results" type="text/x-handlebars-template">
    {{#each resultsArray}}
      <li>
        <button type="button" class="btn btn-primary btn-xs save-btn">Save</button>
        <a href={{about}}>{{title}}</a><br>{{desc}}>
      </li>
    {{/each}}
    <br>
    </ul>
</script>
Moving right along …
Client Side Javascript
Next, let’s add an event handler to main.js that captures the button when clicked:
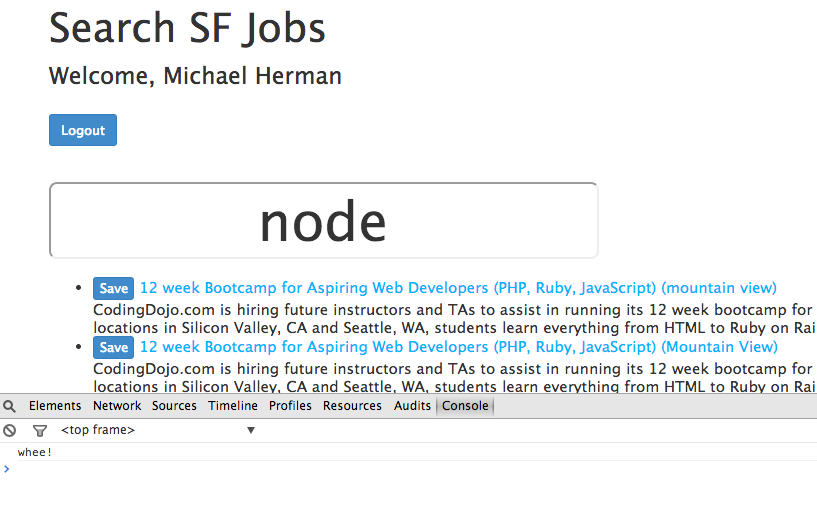
$('.save-btn').on('click', function() {
  console.log("whee!")
});
Your file should now look like this:
$(function(){
  var source = $("#search-results").html();
  var dataTemplate = Handlebars.compile(source);
  $results = $('#results')

  $('#search').on('keyup', function(e){
    if(e.keyCode === 13) {
      var parameters = { search: $(this).val() };
      $.get('/searching', parameters, function(data){
        if (data instanceof Array) {
          $results.html(dataTemplate({resultsArray:data}));
        } else {
          $results.html(data);
        };
      });
    };
  });
  $('.save-btn').on('click', function() {
    console.log("whee!")
  });
});
Do a quick sanity check. Fire up the server. Login. Search for some jobs. You should see the “save” button next to each job. Open up your Javascript console so you can see the console log when it fires. Now try to click a button.
Nothing. Right? What’s going on? We have the right selector. The event is a click. It should be working.
The problem is fairly simple: On the initial loading of the DOM, those selectors - .save-btn - are not present. In fact, they only become present after we append all the jobs to the DOM. Since the selectors are not present to begin with though, our event handler in its current state won’t find them. Fortunately, this is an easy fix.
We can simply attach a listener to a parent element, then once the event is fired, it will search for the child selector, .save-btn. It will obviously only find that selector once it exists in the DOM.
This is called event delegation. If interested, check this article out for more info.
Update the code:
$('#results').on('click', '.save-btn', function() {
  console.log("whee!")
});
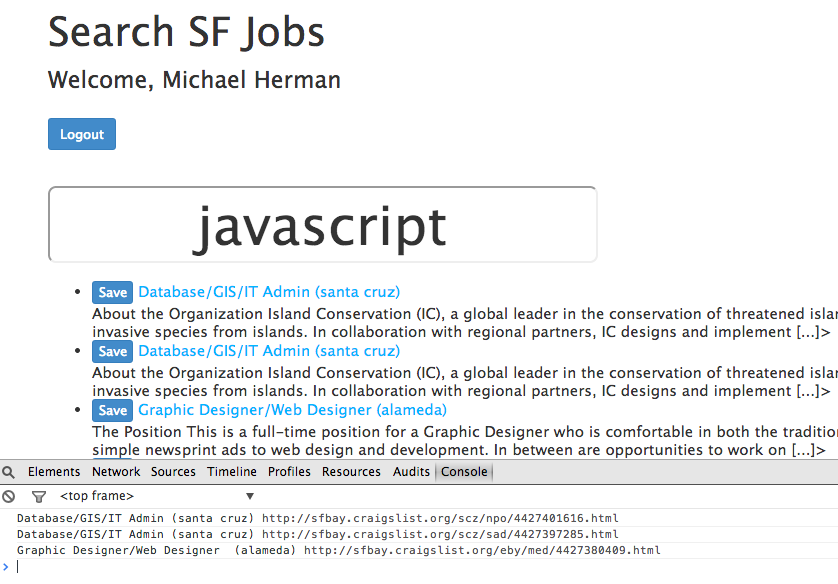
So, the listener is set to the #results selector, which when fired (by the button click), searches the DOM for the child selector, .save-btn. Test it out. It should work.
Next, instead of just outputting the text “whee!”, we need to grab the job title and URL by replacing the current console log with:
var jobTitle = $(this).next('a').text()
var jobURL = $(this).next('a').attr('href')
console.log(jobTitle, jobURL)
Notice the this keyword? It’s extremely powerful yet it can be difficult to use. In this case, it refers to the DOM element that the event handler is triggered on.
Don’t believe me? Test it out: update the console.log() to console.log($(this)). Test it out.
To learn more about this, check out What is this? and the Javascript docs.
Now what happens when you click the save button?
Finally, we need to pass the data to the server.
var parameters = { title: jobTitle, url: jobURL };
console.log(parameters)
$.get( '/save', parameters, function(data) {
  console.log("whee!")
});
You should remember how to do this, and understand what’s happening here. If not, review Part 1 of this series.
Server Side Javascript
On the server side, we need to setup a /save route. Again, if you have questions on this, check out Part 1.
Update app.js:
app.get('/save', ensureAuthenticated, routes.save)
Now update the routes file, index.js:
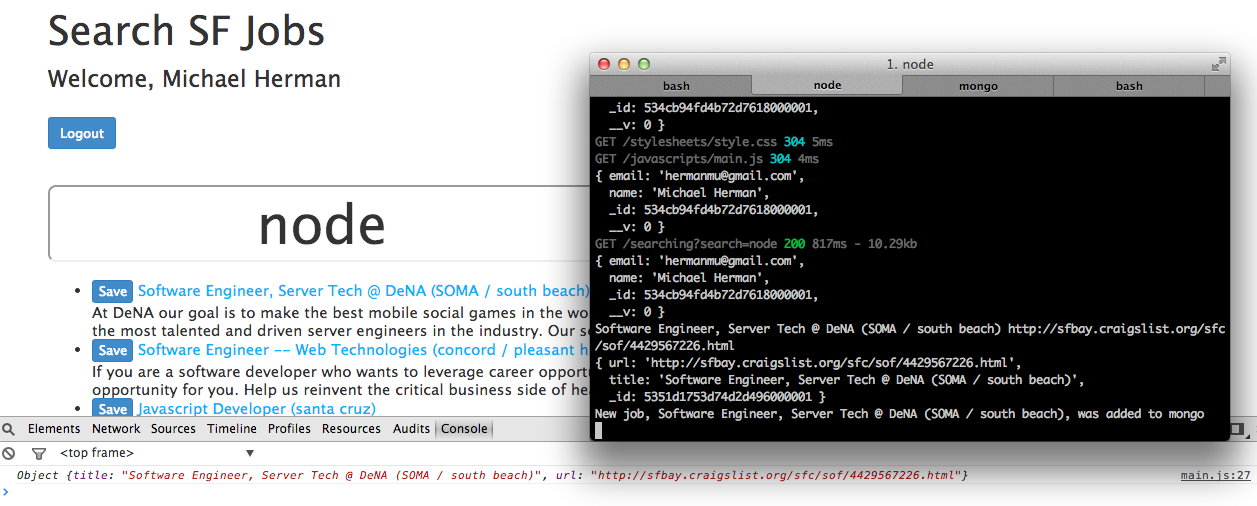
exports.save = function(req, res){
  var title = req.query.title;
  var url = req.query.url;
  console.log(title, url);
};
Test this out. You should see:

Update Mongo
Now that we have the data in our possession, let’s add it to the database.
Add a new schema
Create a new file in the “models” directory called job.js, then add the following code to the file:
var mongoose = require('mongoose');
var config = require('../config');

console.log(config);

// create a job model
var userSchema = new mongoose.Schema({
  title: String,
  url: String,
});

module.exports = mongoose.model('Job', jobSchema);
Insert Data
With the schema set up, we can now add our data to the Mongo collection. Within your routes, add the following code to the /save route:
exports.save = function(req, res){
  var title = req.query.title;
  var url = req.query.url;
  console.log(title, url);
  var newJob = new job();
  newJob.title = title;
  newJob.url = url;
  console.log(newJob);
  newJob.save(function(err){
    if(err){
      throw err;
    }
    console.log("New job, " + newJob.title + ", was added to mongo");
  });
};
Here, we are simply creating a new record assigned to the variable newJob, then adding the appropriate data, and finally saving the job to our job collection within Mongo.
Make sure to require the config and Mongoose schema files:
var config = require('../config');
var job = require('../models/job');
Test it out!
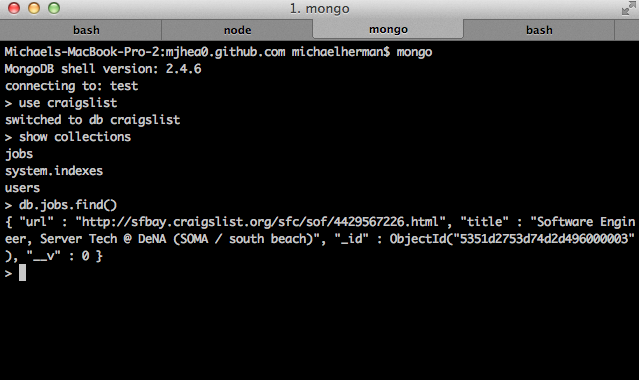
Now check out the results in Mongo:
Before moving on, let’s add a line of code to search the Mongo collection to see if a job exists, then within a conditional we can setup logic for only adding a job if it doesn’t already exist in the collection:
exports.save = function(req, res){
  var title = req.query.title;
  var url = req.query.url;
  console.log(title, url);
  var newJob = new job();
  job.findOne({'title': title}, function (err, job) {
    if (job) {
      console.log('Job already in database.');
    } else {
      newJob.title = title;
      newJob.url = url;
      console.log(newJob);
      newJob.save(function(err){
        if(err){
          throw err;
        }
        console.log("New job, " + newJob.title + ", was added to mongo");
      });
    };
  });
};
So, we search the database for the job - job.findOne({'title': title} - then if it’s found we output a message to the console - console.log('Job already in database.');. And if it’s not found, we obviously add the data to the database. We should alert the user if a job is already in the database in a more direct way than just a message to the console. After all, how many users browse the Internet with their console open? We’ll address that in a bit. Right now, let’s finish with Mongo first.
One to Many Relationship
We need set up a one to many relationship (one user, many jobs) using document references within Mongo to associate a job to a user. This takes literally two lines of code.
Update the jobs schema:
var user = require('../models/user');

var jobSchema = new mongoose.Schema({
  title: String,
  url: String,
  user: {type: mongoose.Schema.Types.ObjectId, ref: user}
});
Then updated index.js so that when you add a job it includes the currently logged in user:
newJob.title = title;
newJob.url = url;
newJob.user = req.user._id
console.log(newJob);
newJob.save(function(err){
  if(err){
    throw err;
  }
Test this out, then check out the object in Mongo:
{ "user" : ObjectId("534cb94fd4b72d7618000001"), "url" : "http://sfbay.craigslist.org/sfc/eng/4423216760.html", "title" : "Principal Web Engineer", "_id" : ObjectId("5351f3a1cc6813119e000001"), "__v" : 0 }
The object now includes the user id.
Client Side Javascript Redux
Okay. Back on the client side, we need to do three things before we’re finally done:
- Remove the job the user saved
- Display messages from the server side, indicating whether the job was added to the database or not
- Display all saved jobs to the user
Remove job from the DOM
Add the following line of code to main.js right before we send the data to the server side:
$(this).parent().remove()
Updated code:
$('#results').on('click', '.save-btn', function() {
  var jobTitle = $(this).next('a').text()
  var jobURL = $(this).next('a').attr('href')
  var parameters = { title: jobTitle, url: jobURL };
  console.log(parameters)
  $(this).parent().remove()
  $.get( '/save', parameters, function(data) {
    console.log('test',data)
  });
});
Display Messages
First, within index.js update the following two lines of code.
From:
console.log('Job already in database.');
console.log("New job, " + newJob.title + ", was added to mongo");
To:
res.send('Job already in database.');
res.send("New job, " + newJob.title + ", was added to mongo");
Updated function:
exports.save = function(req, res){
  var title = req.query.title;
  var url = req.query.url;
  console.log(title, url);
  var newJob = new job();
  job.findOne({'title': title}, function (err, job) {
    if (job) {
      res.send('Job already in database.');
    } else {
      newJob.title = title;
      newJob.url = url;
      console.log(newJob);
      newJob.save(function(err){
        if(err){
          throw err;
        }
        res.send("New job, " + newJob.title + ", was added to mongo");
      });
    };
  });
};
The res.send() method is used to send a response back to the client side. You can read more here. Now, we need to capture that response and append the actual message to the DOM.
First, add a new element, p#alert, to search.jade where you want the message to go:
extends layout

block content
    h1 Search SF Jobs
    .lead Welcome, #{user}
    form(METHOD="LINK", ACTION="logout")
        input(type="submit", value="Logout", class='btn btn-sm btn-primary')
    br
    br
    p#alert
    input#search(type="search", placeholder="search...")
    br
    br
    ul#results
    include template.html

    script(src="//cdnjs.cloudflare.com/ajax/libs/jquery/2.0.3/jquery.min.js")
    script(src="//cdnjs.cloudflare.com/ajax/libs/handlebars.js/1.0.0/handlebars.min.js")
    script(src="/javascripts/main.js")
Next update main.js:
$.get( '/save', parameters, function(data) {
  $('#alert').html(data)
  console.log(data)
});
$('#alert').html(data) adds the message to the DOM between the <p> tags that have the id “results”.
Check it out live.
Display saved jobs
This is actually a fairly large task, so we’ll tackle this in the next part, along with re-organizing the entire search page and adding some more styles.
You can grab the code here.
See you next time!