Crash Course in web2py (part 2 - web forms)
In the last tutorial I showed you the basics of web2py, and we even created a web app in less than ten minutes! In Part 2, I’ll show you how to create a basic web form that stores the submitted data in a SQLite database.
Assumptions:
- You installed web2py
- You know what a web form is
Anyway - let’s get going …
MVC Architecture
Real quick, web2py utilizes the Model View Control (MVC) architecture:
- Model - application data
- View - portions of the application data that the end user is allowed to see
- Controller - controls the application workflow and the logic used to display the data to the end user
Wikipedia has a great diagram of how each part works together-

web2py essentially makes it easier for developers to design each part and create the overall workflow to ensure that each part works together. I hope that’s clear. If not, please comment, and I’ll go a little more in depth. It’s important to understand this, as we will be utilizing this form of development from this point on.
Okay - Go ahead and start the web2py server, go to the admin interface, and then create a new application. I named mine “form”. Feel free to come up with something a bit more creative.
Model*
Open db.py in the Model’s section and append the following code below, which defines the database schema. There are three required fields, plus a unique ID that is automatically created by web2py.
db = DAL('sqlite://webform.sqlite')
db.define_table('register',
    Field('first_name', requires=IS_NOT_EMPTY()),
    Field('last_name', requires=IS_NOT_EMPTY()),
    Field('email', requires=IS_NOT_EMPTY()))
View
Create a new HTML file named default/display_your_form.html
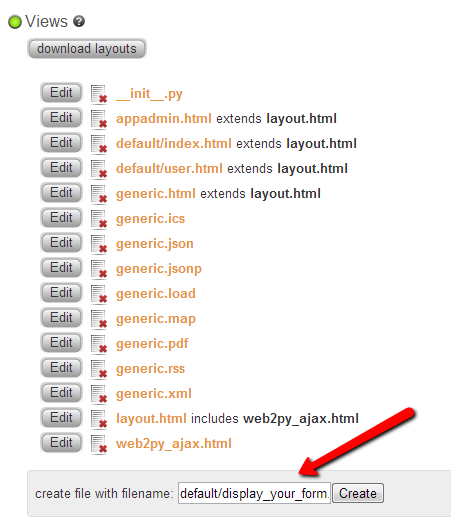
And then add the following code to call the form-
<center>
<br /><br /><br />
<h1>Web Form</h1>
<br />
<h2>Inputs:</h2>
{{=form}}
<h2>Submitted variables:</h2>
{{=BEAUTIFY(request.vars)}}
</center>
Controller
Finally, comment out all the current code in the default.py file and add in this new function to define the form-
def display_your_form():
    form = SQLFORM(db.register)
    return dict(form=form)
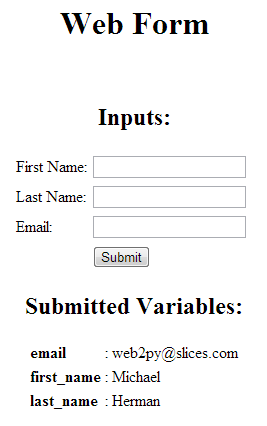
Test
Check out your amazing form at http://127.0.0.1:8000/form/default/display_your_form.html. Now, Go ahead and test the form to make sure it works. If done correctly, after you input the data and hit submit, the values are displayed.
Recap
We used the MVC approach to make this form:
- Model: defines database table and schema
- View: calls the form
- Controller: constructs the form to be called
Alright - Hold off on deploying the app for now, as we will continue to add features in the next part of this series. Pretty soon we’re going to have the best form on the Internet. Give yourself a pat on the back. You went from creating a useless “hello world” app, to creating something functional - all in less than 20 minutes!
You can find the code for db.py, display_your_form.html, and default.py here.
In the next tutorial we’ll be adding in form validation. Brace yourself.